Chances are, you’re here because you heard your home stadium has gone cashless and you have no idea how you’re going to buy nachos or a team jersey at the next MLB game. Well, we can assure you there’s nothing to worry about, we’re here to help you.
How to Use an Azimut Reverse ATM:
- Find a Kiosk
- Get Started
- Read the Terms
- Load Your Cash
- Verify The Amount
- Collect Your Card
- Don’t Forget the Receipt
- Start Spending!
Check out the video below for a quick overview of the entire process. Hint: it takes less than 60 seconds to go from cash to card!
Rogers Centre has deployed several of our Reverse ATMs throughout the stadium premises which can be accessed by fans to convert their cash to card. If you already have an active Mastercard or VISA debit/credit card then you probably don’t need to use a Reverse ATM, but if for some reason you don’t have an active card or you just prefer carrying around cash, Reverse ATMs are for you!
1. Find a Kiosk
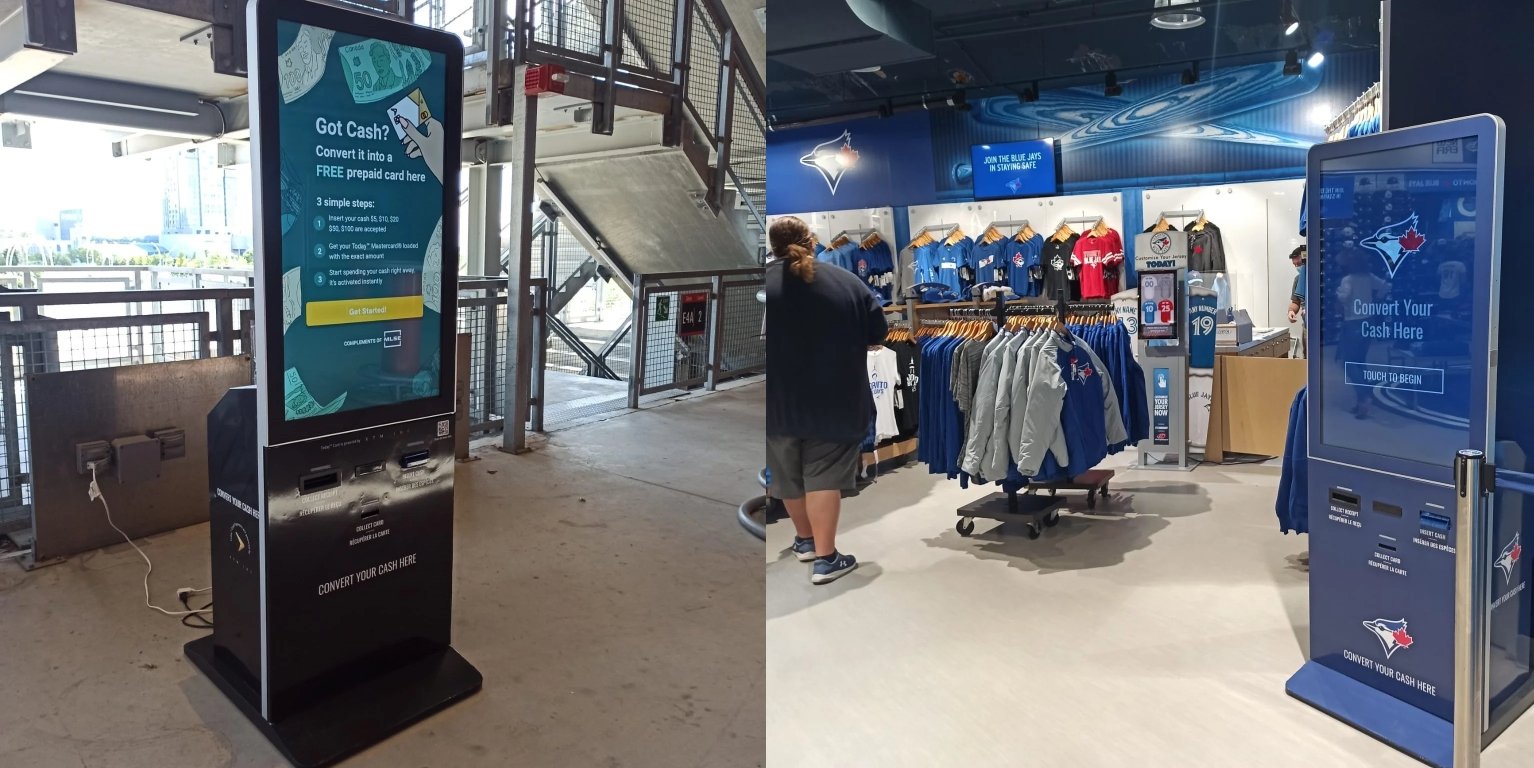
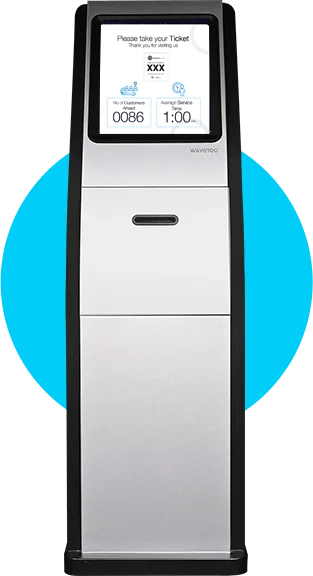
First thing you’ll need to do upon arriving at the stadium is find one of our Reverse ATM kiosks pictured below:
2. Get Started
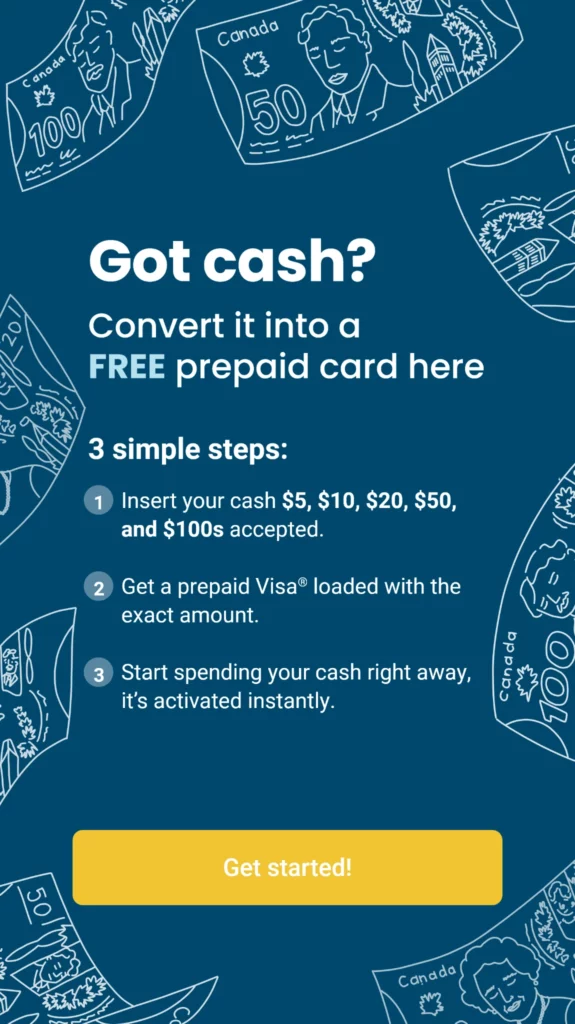
Once you’ve found a kiosk, it should display this screen explaining the purpose of the kiosk and outlining the simple 3 step process to obtain your card.
3. Read the Terms
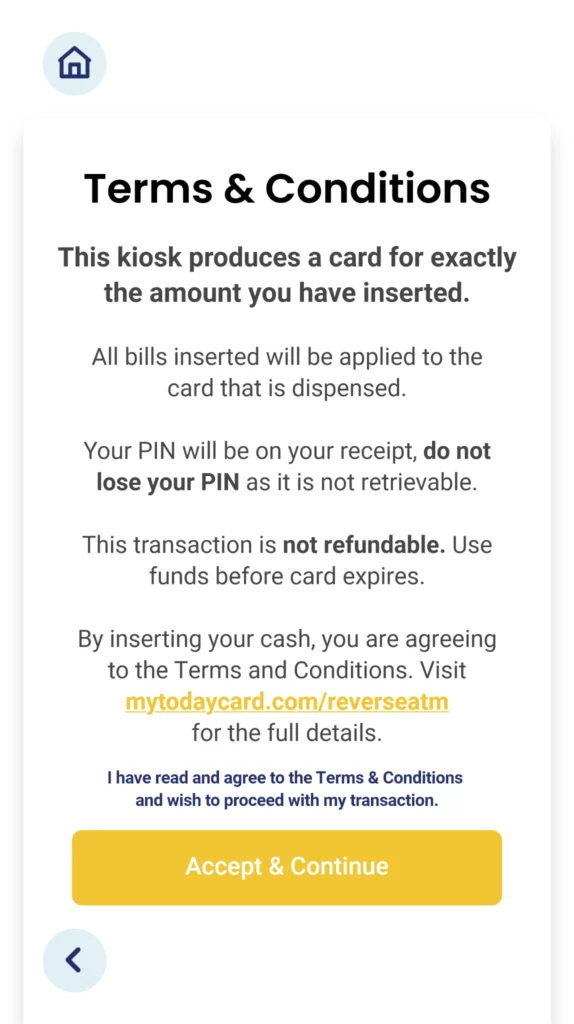
Upon touching the ‘Get Started’ button, the kiosk will display the terms & conditions, prompting you to accept if you wish to continue. Carefully read these conditions before continuing.
4. Load Your Cash
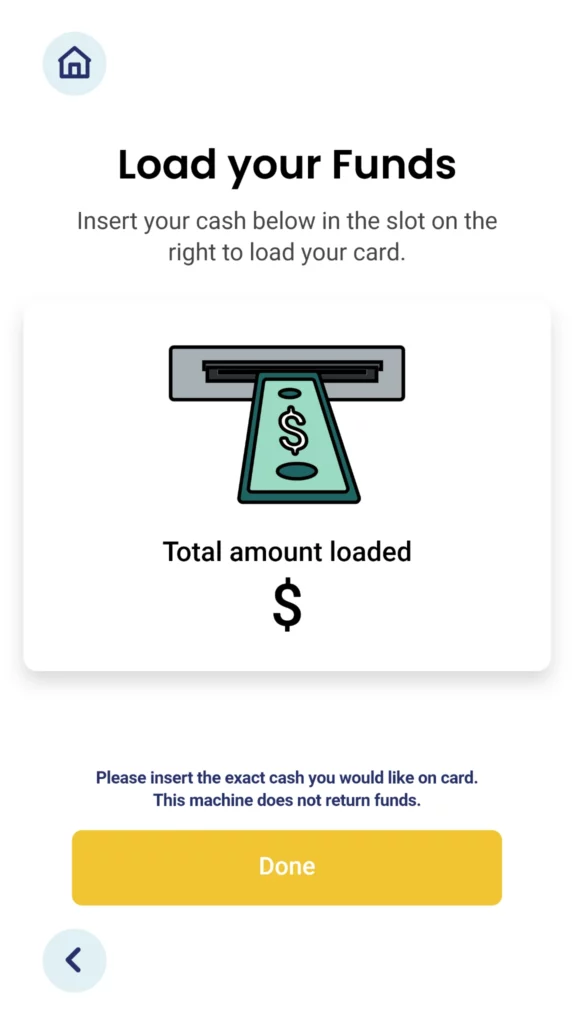
Once you’ve read and accepted the terms, you begin your cash to card journey. This next screen prompts you insert your desired amount of cash. The Reverse ATM accepts all denominations of Canadian currency notes.
5. Verify Your Amount
After you’ve inserted your dollar bills into the cash acceptor of the kiosk, the kiosk will display the total amount that has been inserted and accepted so far. Then you can hit ‘Done’ and the kiosk will verify the amount once more and start loading your card with the amount of cash you just inserted.
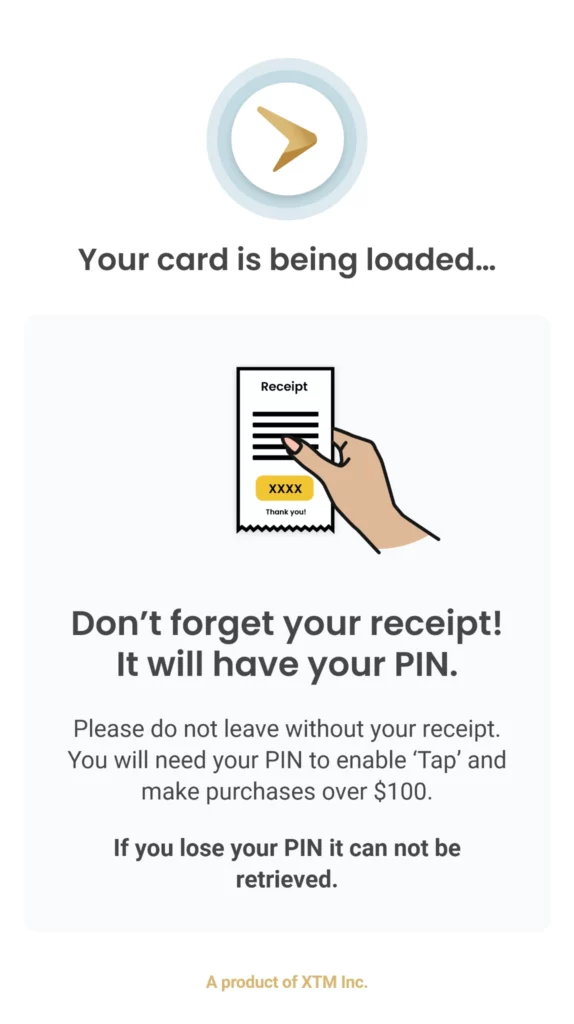
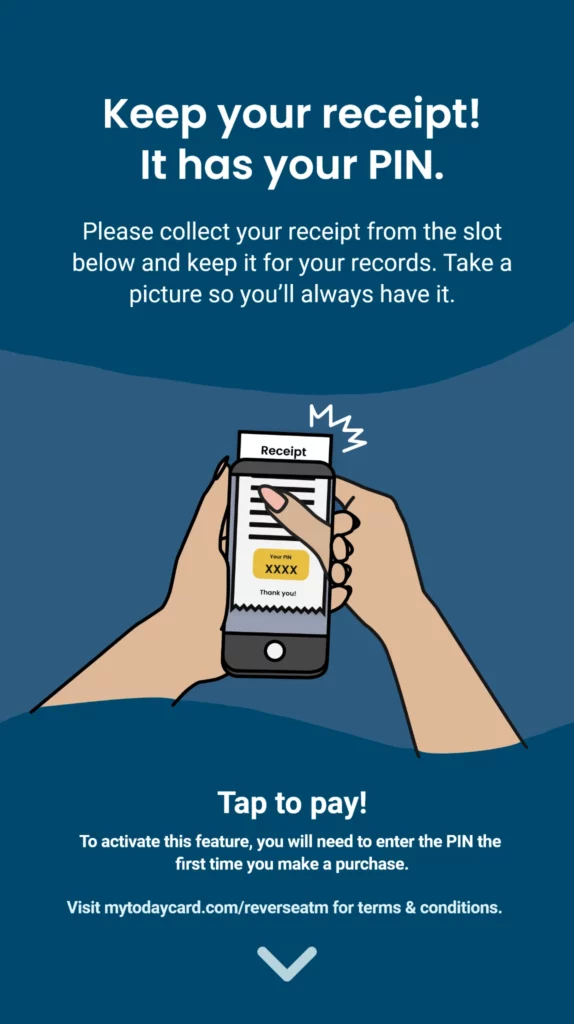
At this stage the kiosk will also prompt you to collect your receipt after the card has been dispensed. This receipt has your unique PIN code that you’ll need to make your first transaction.
6. Collect Your Card
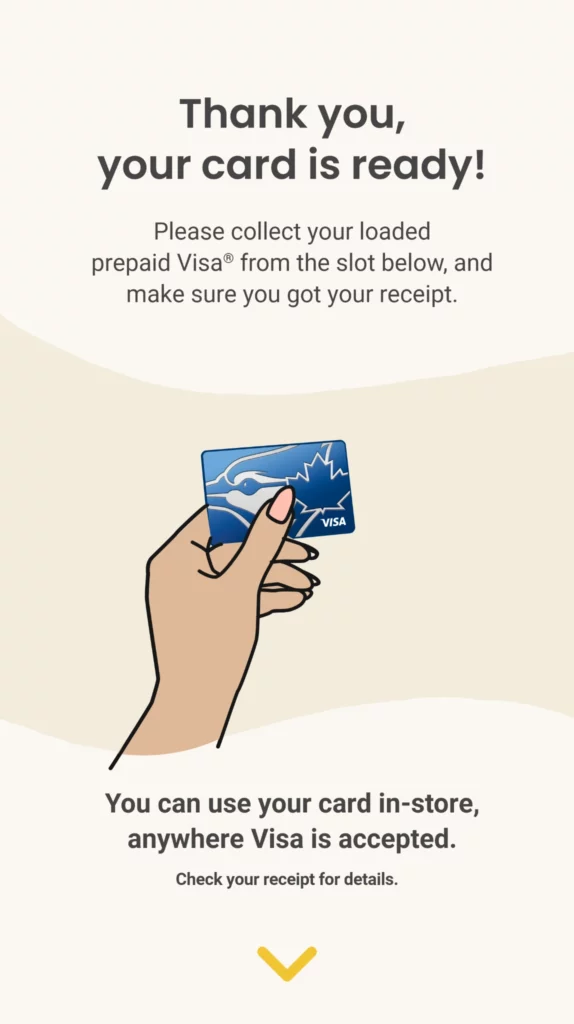
Your prepaid active VISA card is then dispensed by the card dispensing module loaded with the cash you just inserted.
7. Don’t Forget The Receipt
Finally, the kiosk will print out your receipt with a unique PIN code you’ll need when making your first transaction. The receipt will also have other details regarding the transaction so you should keep it safe.
Happy Spending!
That’s it! You’re all set! You can head to the concessions stand and pick up your favorite snacks and pay simply by tapping your new VISA card. This card will work at any merchant that accepts VISA outside the stadium too.
Enjoy the game!
BOOK A FREE DEMO
